If you’ve been searching for how to flush a water heater, you’re already taking an important step toward protecting your plumbing system. Flushing your water heater removes sediment buildup that can lead to leaks, reduced efficiency, and even system failure over time. With the right approach, homeowners can extend the life of their unit and maintain consistent hot water performance from their hot water heater.
- Sediment buildup is a leading cause of water heater damage
- Flushing improves efficiency and heating performance
- Regular maintenance helps prevent unexpected leaks
- Hard water can accelerate internal tank wear
- Homes in Tewksbury, MA often deal with mineral-heavy water
Why Flushing Your Water Heater Matters
Over time, minerals from your cold water supply settle at the bottom of the tank, especially in tank water heaters. This sediment buildup creates a barrier between the burner or heating element and the water, forcing the system to work harder when heating water.
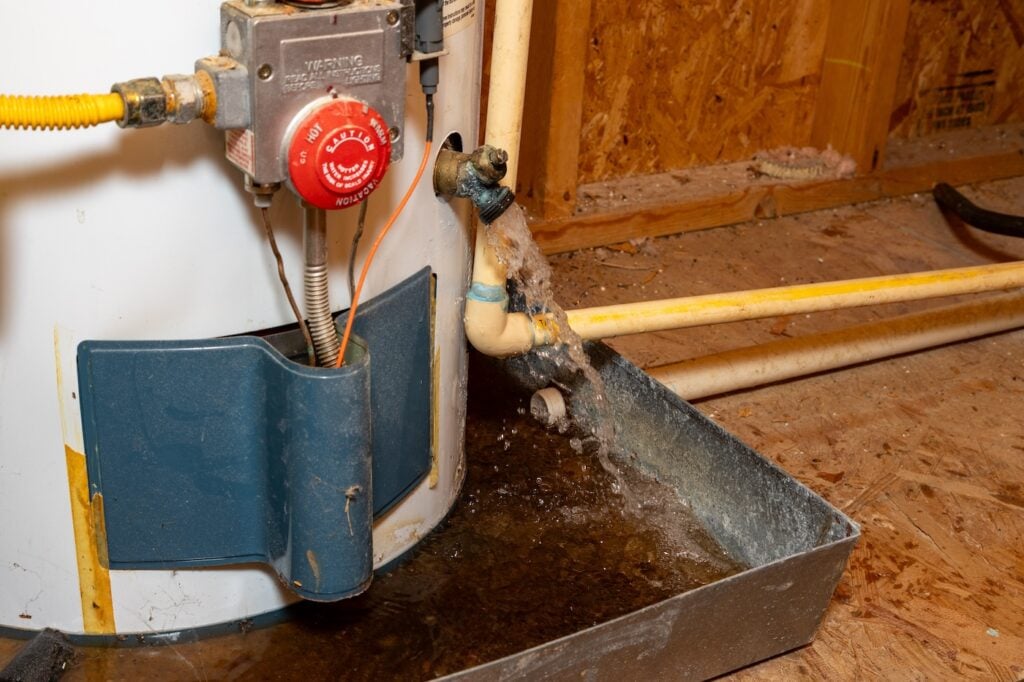
If left untreated, sediment can cause overheating, corrosion, and pressure buildup inside the tank. These issues often lead to leaks or complete failure, making routine flushing one of the most important maintenance tasks homeowners can perform on any water heater. Sediment buildup in water heaters can reduce efficiency and increase energy use over time, which is why regular flushing is critical for long-term performance.
5 Steps to Flush a Water Heater Properly
Flushing your water heater may sound complicated, but it can be done safely with the right process. Following these steps helps remove sediment, improve efficiency, and reduce the risk of long-term damage while restoring proper water flow.
1. Turn Off the Power or Gas Supply
Before starting, you must safely shut down the system to prevent heating during the process. This protects both you and the equipment from damage or injury, whether you have an electric water heater or a gas-powered unit.
- Electric units: Turn off power at the breaker panel
- Gas systems: Turn off the gas line or set to pilot mode
- System safety: Allow water to cool before draining
2. Shut Off the Water Supply
Stopping the flow of incoming water ensures the tank can be drained properly. This step prevents additional water from entering while you flush the system.
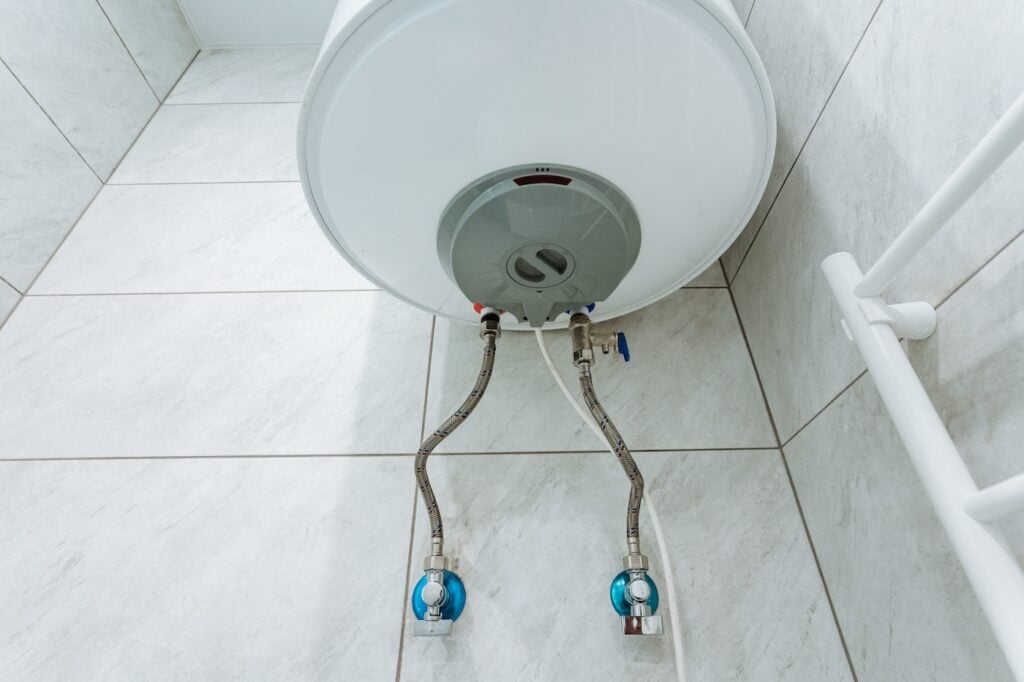
- Cold water inlet: Turn off the cold water supply valve
- Flow control: Prevents refilling during draining
- System preparation: Gets tank ready for flushing
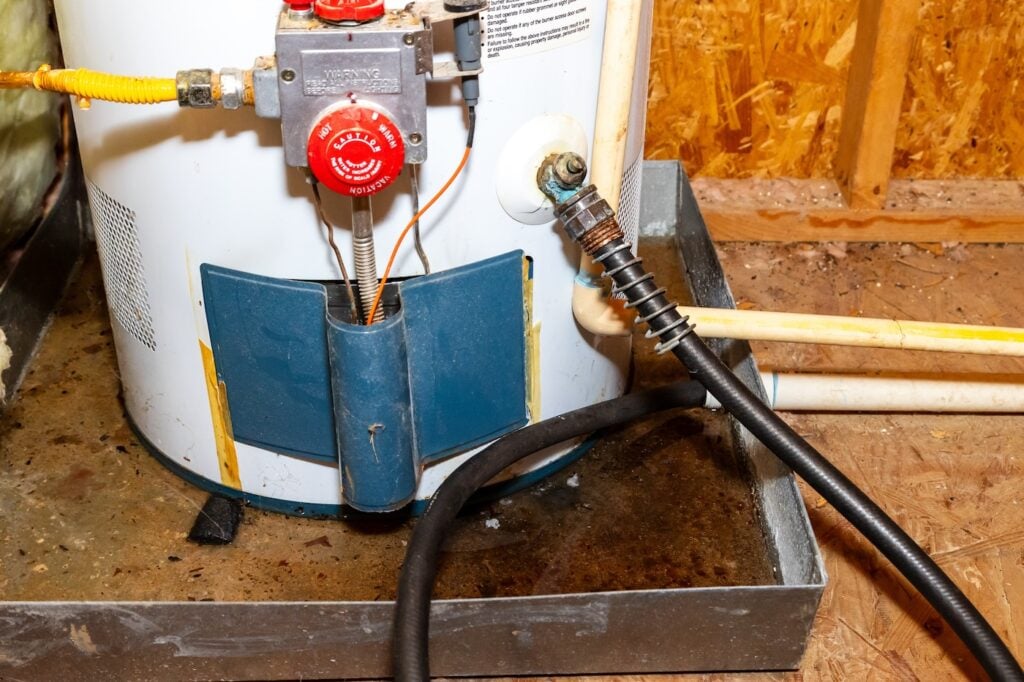
3. Connect a Hose and Drain the Tank
Attaching a garden hose allows you to safely direct water out of the tank. This step removes the majority of sediment and built-up debris from inside the system.
- Drain valve: Attach hose securely to the outlet
- Safe location: Direct water to a floor drain or outside
- Drain completely: Empty the tank to remove buildup
4. Flush the Tank with Fresh Water
Once the tank is drained, flushing it with clean water helps remove any remaining sediment stuck inside. Opening a hot water faucet during this step helps improve water flow and prevent pressure buildup.
- Open supply briefly: Allow fresh water to enter and stir debris
- Hot water faucet: Open to allow air into the system
- Tank cleaning: Continue flushing until water runs clear
5. Refill and Restore the System
After flushing is complete, the system must be refilled and safely restarted. Properly restoring the unit ensures it returns to normal operation without issues and delivers consistent hot water.
- Close drain valve: Prevent leaks during refill
- Turn water back on: Allow tank to fully refill from the cold water inlet
- Restore power or gas: Restart heating system carefully
Signs Your Water Heater Needs Flushing
Even if you do not follow a strict schedule, your system will often show signs when flushing is needed. Recognizing these early indicators can help prevent damage and extend system life.
- Popping noises: Sediment heating at the bottom of the tank
- Reduced hot water: Less available hot water than usual
- Cloudy water: Mineral buildup affecting water clarity
- Higher energy bills: System working harder to heat water
- Inconsistent temperature: Fluctuating hot water output
Addressing these issues early can prevent more serious problems like leaks or tank failure.
How Often Should You Flush a Water Heater?
Most homeowners should flush their water heater at least once per year. However, homes with hard water or high mineral content may need more frequent flushing to prevent buildup and maintain proper performance.
In areas like Tewksbury, MA, mineral-rich water can accelerate sediment accumulation, making regular maintenance even more important. Staying consistent with flushing helps maintain efficiency and reduces long-term repair costs.
Common Questions About Flushing a Water Heater
Understanding the process helps homeowners feel more confident when performing maintenance or deciding when to call a professional.
Can I flush my water heater myself?
Yes, many homeowners can complete a basic flush using tools like a garden hose and bucket. However, if the system is older or heavily clogged, professional service may be recommended to ensure proper cleaning.
What happens if I never flush my water heater?
Sediment buildup will continue to increase, reducing efficiency and eventually causing overheating, corrosion, and possible leaks. Over time, this can lead to complete system failure and loss of hot water.
Is flushing different for tankless systems?
Yes, tankless units require descaling instead of flushing. This process removes mineral buildup using a cleaning solution and specialized equipment designed for those systems.
How long does flushing take?
The process typically takes about 30 to 60 minutes depending on the size of the tank and the level of buildup inside the system.
Additional Maintenance Tips to Extend Water Heater Life
Beyond flushing, there are several other steps homeowners can take to protect their system and improve performance. Combining these practices with routine flushing provides the best long-term results.
- Check the anode rod: Prevent internal corrosion inside the tank
- Inspect for leaks: Catch small issues before they worsen
- Adjust temperature settings: Reduce strain on the system
- Install a water softener: Minimize mineral buildup
- Schedule inspections: Ensure all components are working properly
Regular maintenance helps reduce wear and keeps your system operating efficiently for years.
Protect Your System with New Era Plumbing & HVAC
At New Era Plumbing & HVAC, we help homeowners maintain reliable hot water with expert maintenance and professional service. From flushing your system to diagnosing leaks and improving efficiency, our team ensures your water heater operates at its best.
If you need help with water heater maintenance or want to prevent future issues, contact New Era Plumbing & HVAC in Tewksbury, MA today to schedule your service.