If you’re dealing with temperature issues, water leaks, or poor pressure in your shower, it might be time to consider shower valve replacement. This small but critical plumbing component controls water flow and temperature and tends to wear out over time due to constant use, mineral buildup, or faulty seals. Learning how to replace it correctly helps you avoid further water damage and restore full functionality so your bathroom stays comfortable and reliable.
- Shower valves wear down due to hard water and daily usage
- Replacement prevents leaks behind walls and tile
- Matching valve types ensures proper installation
- Shower walls may need access to reach plumbing
- Homes in Andover, MA often have older setups needing updates
Why a Shower Valve Matters
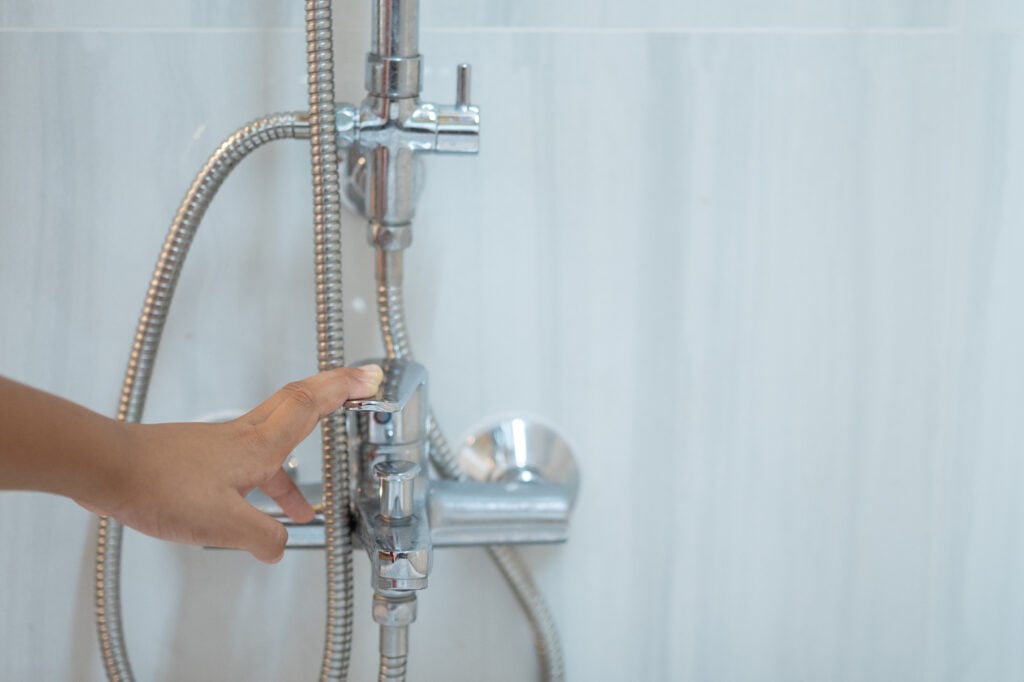
A shower valve controls both how hot and how much water comes from your showerhead. When it fails, you might experience dripping, stuck handles, or sudden blasts of hot or cold water. These issues are often signs of worn internal components or mineral buildup inside the cartridge.
Ignoring these symptoms can allow water to leak behind walls, which may lead to structural damage or mold growth over time. Addressing the issue early protects your plumbing system and keeps your shower functioning reliably. Replacing the valve can also improve system efficiency and increase the lifespan of your shower fixtures.
Signs Your Shower Valve Is Failing
It’s not always obvious when your shower valve starts to wear out. Many homeowners first notice minor issues that slowly grow into major inconveniences. Here are some common warning signs that indicate your valve may be failing:
- Temperature fluctuations: Water shifts from hot to cold without warning
- Loose or stiff handle: Internal cartridge wear affects control
- Water behind the trim plate: Indicates seal deterioration
- Reduced water pressure: Mineral buildup restricts flow
- Dripping showerhead when off: Valve fails to shut off completely
- Rust or discoloration: Corrosion buildup inside connections
When these signs appear, planning a replacement can prevent leaks, higher water bills, and further damage to your shower system.
7 Steps to Replace Your Shower Valve
Replacing a shower valve isn’t a quick job, but with careful planning and attention to detail, it can be done safely and effectively. The following steps walk you through the process from start to finish:
1. Shut Off the Water Supply
Before starting, turn off your home’s main water supply to prevent flooding and relieve pressure.
- Main shutoff valve: Turn clockwise until fully closed
- Pressure release: Open nearby faucet to relieve pressure
- Protect flooring: Lay towels around the work area
Turning off the water prevents accidental flooding during disassembly and gives you a dry workspace.
2. Remove the Shower Handle and Trim Plate
You’ll need to remove the visible hardware to expose the valve assembly behind the wall.
- Handle screws: Remove carefully with the right screwdriver
- Trim plate removal: Pry gently to avoid tile damage
- Store parts: Keep all hardware together for reinstallation
Taking your time here protects the finish of your fixtures.
3. Access the Valve Body
Some homes have an access panel behind the shower wall. If not, drywall may need to be cut from an adjacent room.
- Locate access panel: Check closets or utility spaces
- Cut drywall safely: Use a drywall saw for a clean opening
- Clear workspace: Ensure there’s room for tools
Proper access makes the next steps much easier and safer.
4. Remove the Old Shower Valve
Disconnect the valve carefully from the plumbing connections.
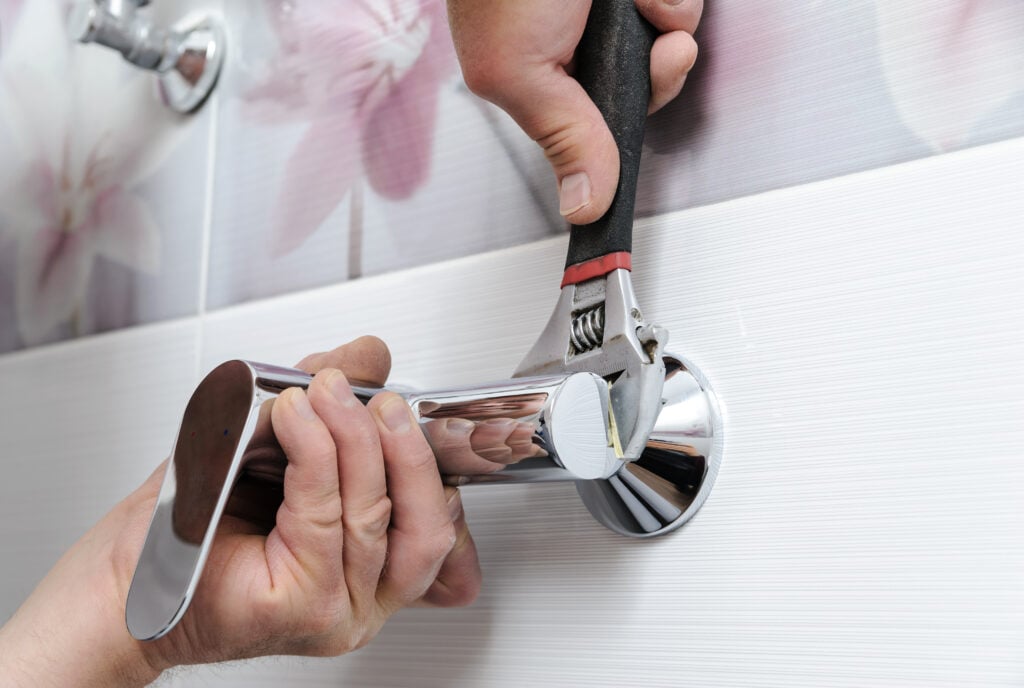
- Loosen fittings: Use an adjustable wrench
- Disconnect lines: Separate hot and cold supply lines
- Inspect pipes: Check for corrosion or wear
Working methodically prevents damage to surrounding pipes.
5. Install the New Valve
Place the replacement valve in the same orientation as the original.
- Hot and cold alignment: Confirm correct inlet positions
- Secure fittings: Tighten without over‑tightening
- Thread sealing: Wrap plumber’s tape where needed
A secure installation helps prevent future leaks.
6. Test for Leaks
Before sealing the wall, restore the water and check performance.
- Water restoration: Slowly turn supply back on
- Pressure test: Run hot and cold settings
- Leak inspection: Check all joints carefully
Testing at this stage ensures you catch issues before final cleanup.
7. Reinstall Trim and Finish
Once everything is confirmed leak‑free, reinstall the trim and handle.
- Trim plate install: Tighten screws evenly
- Moisture sealing: Apply silicone around edges
- Final cleanup: Remove debris and wipe surfaces
This final step protects against water infiltration and finishes the job professionally.
Tools and Materials Needed
Having the proper tools ready prevents delays and ensures a smooth installation.
- Adjustable wrench: For loosening and tightening fittings
- Screwdrivers: For removing handles and trim
- Plumber’s tape: To seal threaded connections
- Replacement shower valve: Correct model for compatibility
- Silicone sealant: For waterproof trim sealing
- Drywall saw: If access panel is needed
Gathering everything in advance reduces frustration during the job.
Common Questions About Shower Valve Replacement
Homeowners often have questions before starting or scheduling this repair. Below are the most frequent ones:
Q: How do I know if my shower valve needs replacing?
A: Signs include inconsistent temperatures, leaking behind the trim, hard‑to‑turn handles, or water that won’t shut off. These symptoms typically mean internal cartridge components are worn or corroded.
Q: Can I replace a shower valve without removing tile?
A: Yes, if there’s an access panel behind the wall. If not, accessing the valve usually requires cutting drywall from the adjacent room or closet rather than damaging tile.
Q: How long does a shower valve replacement take?
A: Most replacements take two to four hours depending on accessibility and plumbing layout. If drywall repair is needed after, add time for patching and finishing.
Q: Should I hire a professional plumber?
A: If soldering, cutting into wall cavities, or complex piping is involved, hiring a licensed plumber ensures proper installation and code compliance.
When Professional Help Makes Sense
While many homeowners can complete this project themselves, certain situations call for expert service:
- Older plumbing systems: Brittle or outdated pipes increase breakage risk
- Soldered fittings: Require specialized tools and training
- Hidden wall damage: May need structural or moisture repair
- Valve compatibility issues: Incorrect models can cause leaks
Calling a professional prevents costly mistakes and protects your plumbing system long term.
Reliable Shower Valve Services From New Era Plumbing & HVAC

At New Era Plumbing & HVAC, we provide professional shower valve replacement and plumbing repairs throughout Andover, MA and nearby communities. Our licensed technicians ensure correct installation, precise leak testing, and clean finishing work that protects your home and plumbing.
If your shower valve is leaking, inconsistent, or no longer functioning properly, contact New Era Plumbing & HVAC today to schedule reliable, expert service.