If you’re planning a system upgrade, understanding gas furnace installation can help you make informed decisions about your home’s heating. Installing a furnace involves more than just placing equipment, it requires proper sizing, ventilation, gas connections, and safety checks to ensure reliable performance. Whether you’re considering furnace replacement or installing a unit for the first time, knowing the process helps you avoid costly mistakes and ensures your home stays consistently warm.
- Proper installation ensures safe operation and efficiency
- Gas furnaces require correct venting and airflow setup
- Professional installation reduces long-term repair risks
- Equipment sizing impacts comfort and energy usage
- Homes in Lawrence, MA rely heavily on consistent heating in winter
What Gas Furnace Installation Involves
Installing a gas furnace is a multi-step process that combines mechanical setup, electrical work, and gas line connections. Each part must be completed carefully to meet safety standards and ensure the system runs efficiently. Whether working with natural gas furnaces or alternative systems like a heat pump, installation quality directly affects long-term performance.
A properly installed system will deliver consistent heat, maintain airflow, and operate safely under all conditions. Heating accounts for about 29% of energy use in the average U.S. home, which makes correct installation and system efficiency especially important for controlling long-term costs. Skipping steps or improper installation can lead to poor heating performance, higher energy bills, and potential safety hazards. Proper maintenance after installation also plays a key role in keeping the system running efficiently for years.
7 Steps for Gas Furnace Installation
Installing a gas furnace requires careful planning and execution. The steps below outline how professionals approach the process to ensure safe and efficient operation.
1. Remove the Old Furnace
The first step is disconnecting and safely removing the existing system, especially during a furnace replacement.
- Power disconnection: Turn off electricity to the unit
- Gas shutoff: Close the natural gas supply line before removal
- System removal: Detach ductwork and remove old equipment
This step clears space and allows for inspection of existing connections.
2. Inspect and Prepare the Installation Area
Before placing the new unit, the area must be checked for proper support, ventilation, and clearance.
- Level surface: Ensure the furnace sits evenly
- Vent path check: Confirm proper exhaust routing
- Code compliance: Verify clearances meet local standards
Preparation ensures the system operates safely once installed.
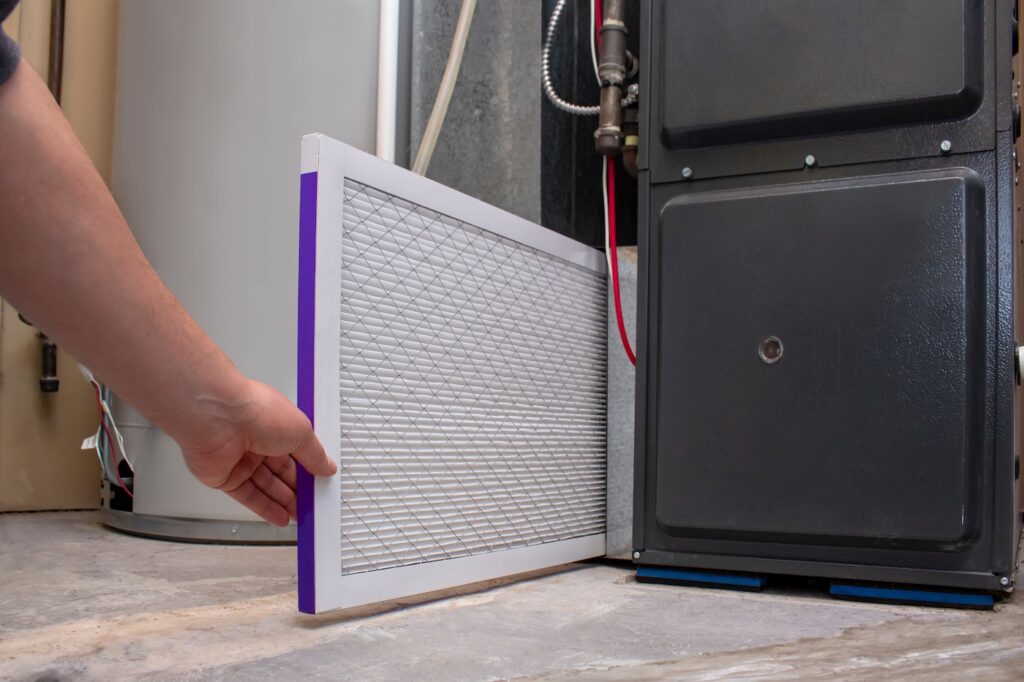
3. Position the New Furnace
The new furnace is set in place and aligned with ductwork and venting connections.
- Unit alignment: Match supply and return duct openings
- Secure placement: Stabilize the furnace to prevent shifting
- Space allowance: Leave room for maintenance access
Correct positioning prevents airflow issues and vibration problems.
4. Connect the Ductwork
Duct connections distribute heated air throughout the home.
- Seal connections: Prevent air leaks with proper sealing
- Airflow balance: Ensure ducts are aligned correctly
- Insulation check: Reduce heat loss in duct system
Proper ductwork improves system efficiency and comfort.
5. Install Gas and Electrical Connections
The furnace must be connected to both gas and electrical systems.
- Gas line connection: Secure fittings and test for leaks
- Electrical wiring: Connect thermostat and power supply
- Safety controls: Ensure sensors and shutoffs are functional
This is one of the most critical steps for safe operation when working with natural gas.
6. Install Venting System
Gas furnaces require proper venting to safely remove exhaust gases.
- Flue pipe setup: Direct exhaust safely outside
- Vent sealing: Prevent leaks of combustion gases
- Draft check: Ensure proper airflow through vent system
Incorrect venting can create serious safety hazards and reduce system efficiency.
7. Test and Calibrate the System
After installation, the system must be tested to confirm proper function. A typical furnace installation takes one to two days depending on system complexity and home layout.
- Startup test: Turn on furnace and monitor operation
- Temperature check: Verify consistent heating output
- Safety inspection: Confirm all components operate correctly
Testing ensures the furnace is ready for daily use and performing at peak efficiency.
Tools Needed for Gas Furnace Installation
Installing a furnace requires a range of tools to complete each step safely and efficiently. Having the right equipment ensures proper connections and reduces installation errors.
- Pipe wrenches: For gas line connections
- Screwdrivers and drills: For mounting and securing components
- Multimeter: To test electrical connections
- Level tool: Ensures proper furnace positioning
- Sealants and tape: Prevent air and gas leaks
- Tin snips: For ductwork adjustments
Professional installers use specialized tools to ensure accuracy, efficiency, and compliance with safety standards.
Common Mistakes to Avoid During Installation
Even small mistakes during installation can lead to performance issues or safety concerns. Understanding these risks helps homeowners recognize the importance of proper setup.
- Incorrect sizing: Leads to inefficient heating and short cycling
- Poor duct sealing: Causes heat loss and uneven temperatures
- Improper venting: Can result in dangerous gas buildup
- Loose gas connections: Increase risk of leaks
- Skipping testing: Leaves issues undetected
Avoiding these mistakes ensures long-term reliability, improved comfort, and safer operation.
Cost Factors for Gas Furnace Installation
The cost of installation varies based on several factors, including system size, home layout, and labor requirements. Understanding these variables helps homeowners plan their investment more effectively and evaluate upfront cost versus long-term savings.
| Factor | Impact on Cost | Notes |
| Furnace size | Higher capacity increases cost | Must match home size |
| Labor complexity | Difficult installs cost more | Tight spaces increase time |
| Ductwork condition | Repairs add expense | Old ducts may need upgrades |
| Efficiency rating | Higher efficiency costs more upfront | Helps save money over time |
A properly installed system can reduce operating costs, improve energy usage, and increase overall comfort.
Signs It’s Time to Replace Instead of Repair
Sometimes installation is part of replacing an older system rather than repairing it. Recognizing when replacement is needed helps avoid repeated repair costs and improve overall system performance.
Rising Energy Bills
Older systems lose efficiency over time, causing higher energy usage and increased monthly costs. This often signals it may be time for a replacement.
Frequent Repairs
If your furnace requires constant service, repair costs can quickly add up. Investing in a new system is often more cost-effective.
Uneven Heating
Inconsistent temperatures throughout the home often point to airflow or system limitations that may require a full upgrade.
Why Homeowners Choose New Era Plumbing & HVAC
At New Era Plumbing & HVAC, we provide expert gas furnace installation services designed for long-term performance and safety. Our licensed technicians specialize in natural gas furnaces, ensuring proper setup, secure connections, and thorough testing.
If you’re considering furnace replacement or need help with installation, contact New Era Plumbing & HVAC in Lawrence, MA today to schedule your consultation and get reliable heating you can count on.